
My first year out of education I was never going to be able to afford gifts for everyone who deserved them in my life, so I decided that this was going to be the year that I would properly commit to hand making little gifts so people would know I was thinking about them over the holiday period. Granted, some may see my efforts as a little pre-school but it’s the thought that counts and the careful time taken over making someone else smile.

I knew I wanted to do something with oranges but I wasn’t sure what. After trawling Pinterest, youtube and various blogs I was thoroughly disheartened by my lack of creative know-how, so I decided to cobble together something entirely of my own creation. I finally came to the conclusion that I could make hanging tree decorations; most people I know have a tree up in their house and if they don’t they could always hang something on a cupboard door knob, or on a mantlepiece.
I picked out some large oranges from Sainsburies, sliced them finely and laid them out on some kitchen roll for about half an hour - they were extra juicy and in any other instance this would have made for perfect oranges but I needed them less juicy.
After drying as much juice out of them as I could, I placed them all on a baking tray and left in them in the oven for about three hours at 90 degrees. I really didn’t think it was going to take this long, but it really did. I went down to check multiple times, but they were only just done when I finally took them out.
After drying as much juice out of them as I could, I placed them all on a baking tray and left in them in the oven for about three hours at 90 degrees. I really didn’t think it was going to take this long, but it really did. I went down to check multiple times, but they were only just done when I finally took them out.

After they were out of the oven and cool, I left them overnight to dry out that last little bit and be really ready to craft with.

I’d bought 5 meters of the ribbon I liked, and it was fairly cheap, but this was by far the most fiddly bit of the whole christmas-craft-fest. I tied the ribbon into many little bows and once I was happy with the shape of the bow, I ran a couple of stitches through the main knot to stop it coming undone.
I can’t really sew at all, but because I used thread that matched the ribbon it didn’t really matter that much. Once I’d made around 15 bows, I picked out the best looking 15 oranges and matched them up. A little drop of craft glue on the back of each bow secured it to the orange. I was originally going to sew the bows to the oranges, but I was a little worried about the oranges stability, after all they are just oranges.
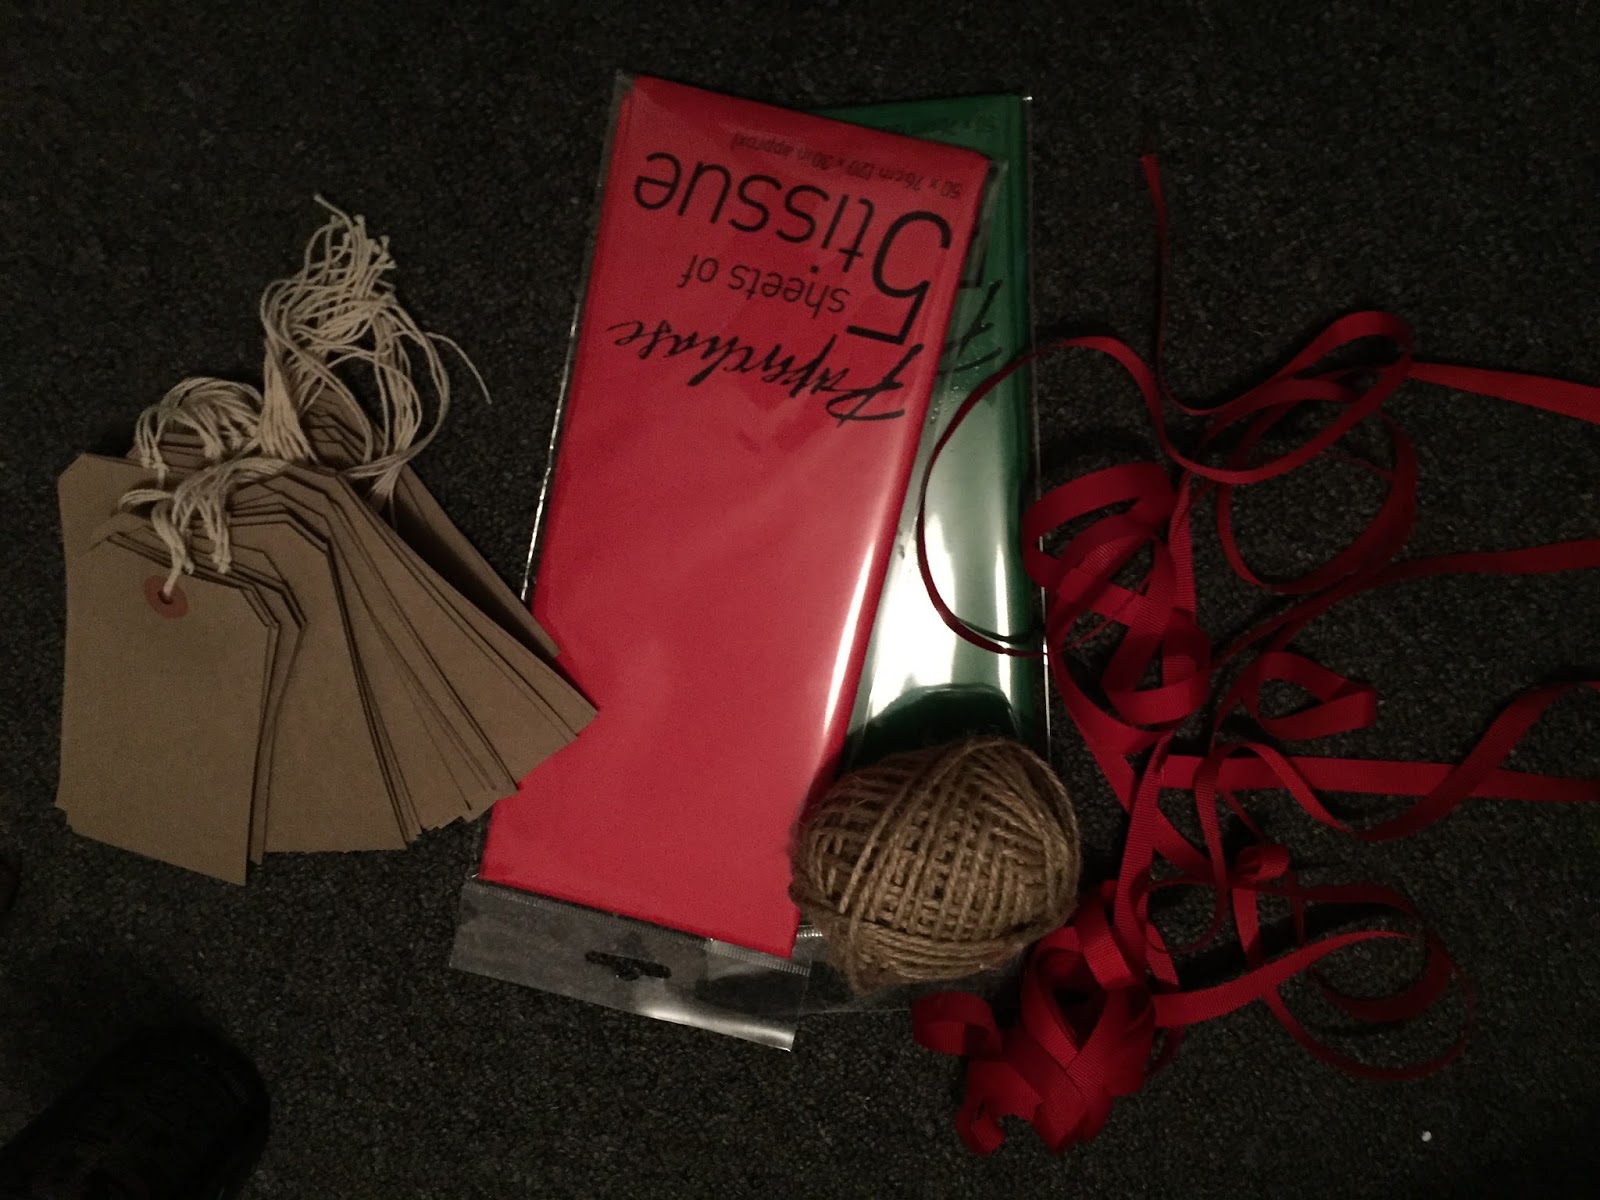

So, now I had 15 dried oranges with cute bows glued on. These were cute as they were, but I wanted to make them at least slightly functional, so this is where the jute twine and luggage tags come into action.
I removed the original string from the tags and went about cutting about a fingers length of the jute twine off the roll. I looped it and stuck it down onto the back of the tag with some regular sellotape.
Now I had 15 slightly kitsch hanging tags.


Mounting the oranges in the same way that I did the bows, I fixed each orange to the upper end of the card leaving some space at the bottom. I didn’t really have much faith in the glue, but it actually worked wonders. It was a fairly cheap ‘Tacky Glue’ from a local Fabric Land. If I were to buy it again however, I would definitely opt for the clear-dry glue as opposed to the one I bought which dried white. It wasn’t a major spanner in the works it just meant that I had to work a little neater than I really had time to.

Whilst I was trying to make them look perfect and really take lots of care and attention, I needed to get them finished in a short period of time. That’s the one problem about Christmas-crafting, I always come up with designs and delusions of grandeur with absolutely no funding or time to execute them. This years handmade gifts were quite cheap which helped.
Once the oranges had set onto the tags enough, I left this until the next day, I wrote names on the opposite ends. I thought this was a cute addition because it personalised the gift nicely and (hopefully) showed that I put a little thought into my efforts.


Once the ink on that was dry, we all know how gel pens smudge, I individually wrapped each tag in red or green tissue paper adorned with even more Paperchase stickers* and a To…/From… note.
Overall, I was really pleased with the way the tags turned out, I made them in the hope that people might hang them on their trees and I know having given some out early to people at work that most of them made it onto their trees. Success!

Although it may take a little extra forethought and effort, I really think handmade gifts are a lot nicer to receive. It shows the effort gone into it and it’s always nice to know that the person who made it cares enough for you to make something for you, or to spend time on you (not just necessarily money.)
Hope you’re all having a wonderful Christmas holiday period.
*If you don’t get this reference, it’s because I wrote a post recently about wrapping up my gifts and showering them all with really cute Christmas stickers from Paperchase. We know I love Paperchase.

.JPG)